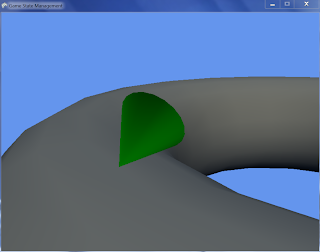
The first stage of creating the engine included:
- Loading the level- Adding spectator style controls
The level loading was done using the XNA built in Model importer and processor. The spectator controls were simple WASD controls at first.
Stage 2 included:
- Using a joint to specify the start position of the player
- Loading the player model
- Adding third person camera control with the mouse
This was fairly straight forward. The start joint was easily accessed using the Model class. The player model was loaded similarly to the level. The third person camera control was implemented so that the player can rotate the camera around the player as well as incline / decline the pitch of the camera.

Stage 3:
- Implementing animations
- Using gravity splines
Implementing animations was done using the Skinned Model Example found on the XNA creators club website. Multiple animations were a problem however. This was because the Autodesk FBX plugin used by Maya did not handle output of multiple "Takes". This was overcome by exporting each animation as ASCII FBX files and then manually merging all animations into a single file. This allowed custom naming of animations but was time consuming. Hopefully this issue gets resolved within the Maya FBX exporter.
Gravity splines at this stage were a single polygon. Gravity was found by cycling through each vertex and finding the nearest one, and then using the vector pointing from the gravity point to the character position as up. Problems arose in the camera causing it to flip out when up was no longer in the +y axis. The view matrix had to be recalculated every frame to ensure it was always rotated in the same orientation as the player.


No comments:
Post a Comment